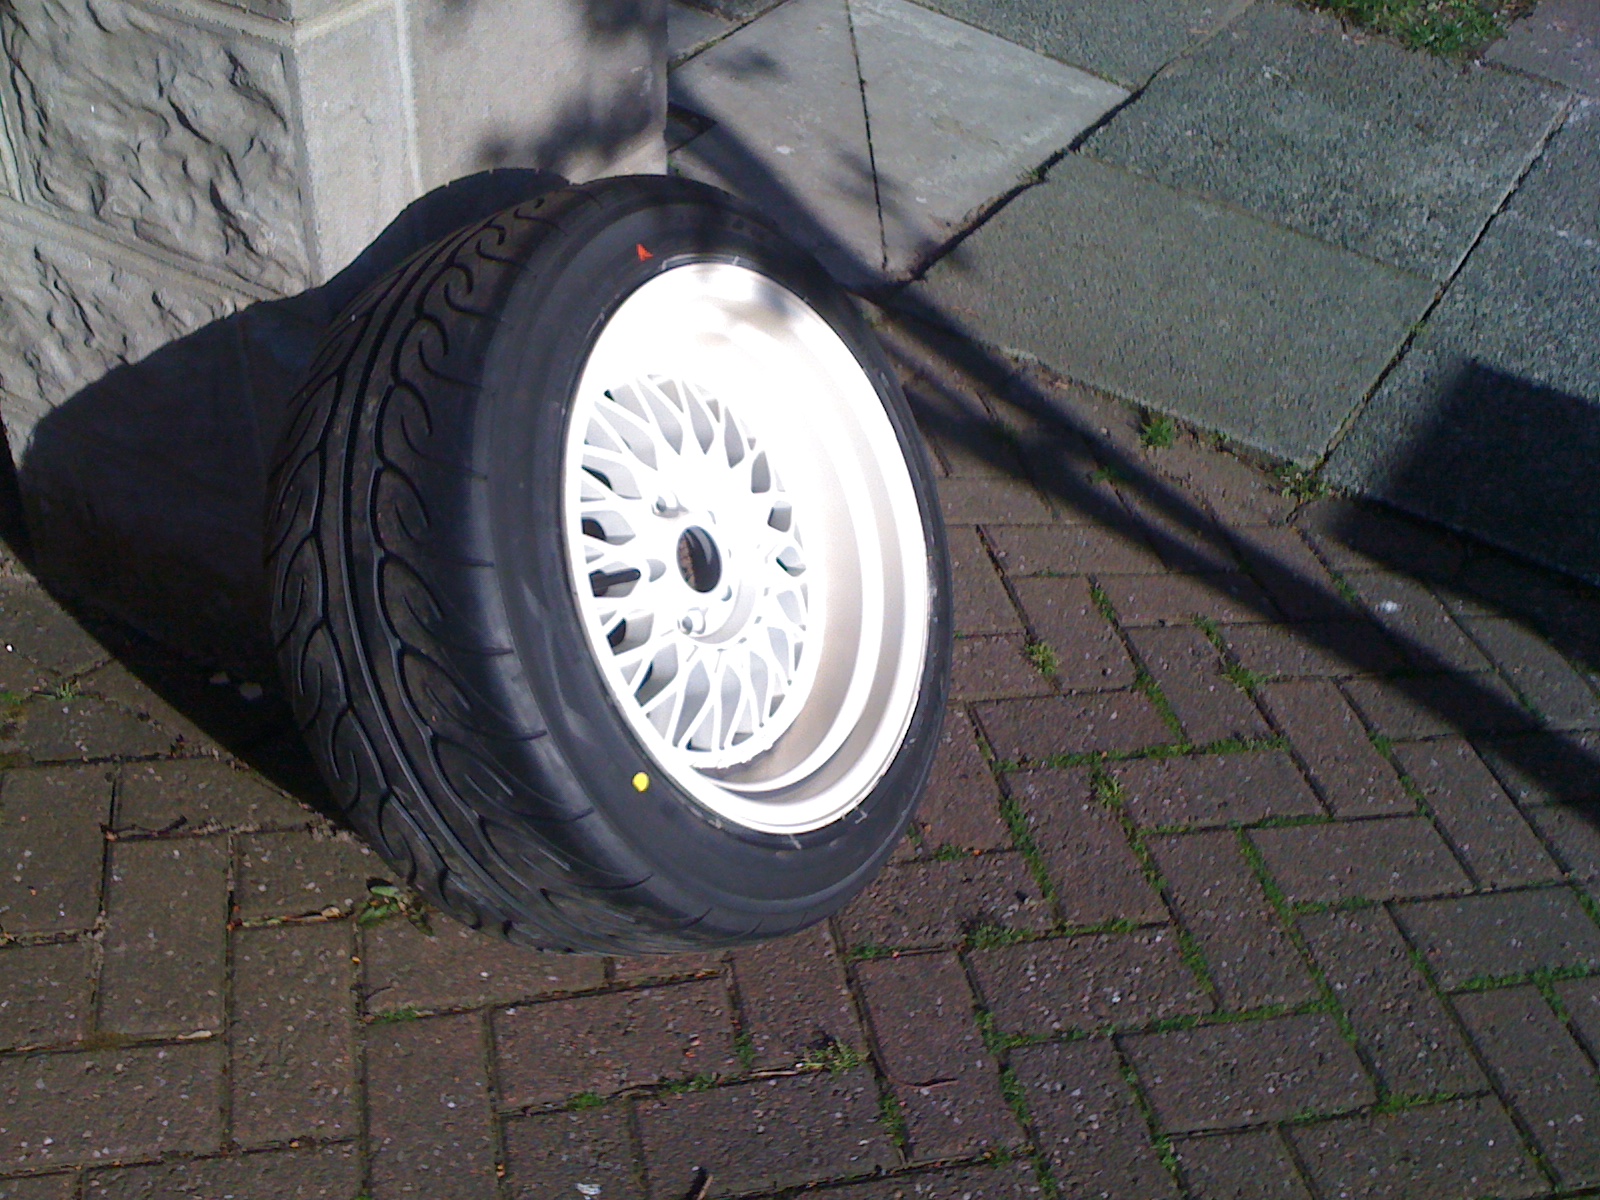
Showing posts with label slammed. Show all posts

Saturday, 21 September 2013

E21 316: Burst shock-absorber woes...

SPAX adjustable - like hen's teeth.
Well, I've had a bit of a nightmare week. As I was replacing the front n/s shock-absorber with the new spring, ready for the MOT on Saturday, the strut-insert burst in my face. To get an extra couple of inches clearance at the top and get it under the wing I'd been pushing the damper down into the insert. I figured they sit quite far down with the short-springs anyway, but eventually, probably after doing it several times, I must have plunged it further than its full operating depth and it popped, sinking the insert completely into the strut.

You wouldn't think pushing it down would pop it, considering the forces on it under load, but once its down far enough the top seal just fails under the pressure of the oil. You can have SPAX, as with most adjustable-inserts, re-filled and the seal replaced if you can be bothered to send it back to the manufacturer and pay the cost, but with time of the essence I just bought a new one.

Larkspeed in Leeds were the cheapest, though the price had gone up from £90 to £112 [and £118 now for the shortened!] for a single insert, but they claimed to have the part in stock and would have it to me by Tuesday the latest. Today I rang them to say it'd been a full week since they rang to confirm the order and still no insert. After half an hour they rang me back to say the insert had been specially ordered from SPAX, who were now lacking correct parts and can't build them until the end of October. I wish they had told me that last week as I'm now waiting on a refund...

Bilstein - fixed damping-rate and pricey,
nothing but good reviews.
I rang DC Performance.co.uk, who also claimed to have the part in stock and it would take 2 or 3 days. Before parting with any money this time I asked if they could check the insert is definitely in stock, which they are not, so it's not looking hopeful for any existing stock anywhere. I will be contacting SPAX directly from now on.

Monroe Gas-Matic - strong, but ride too soft.
So what are the short-term options? There are no ride-adjustable inserts in stock and available now, so it looks like i'm now bound to non-adjustable inserts. Stiffened Bilstein inserts are £62 each, where OEM-replacement ones can be had for as little as £20. With the springs this low, I have no idea what would work best. The sportier, better-brand damper might last longer under the stress and be a better match for the adjustable SPAX on the other side. Alternatively, the cheap, softer damper might compress better under the load and a pair will only cost £40 should the o/s one need swapping too. Another option is to replace both with Monroe gas-filled dampers for £123. The blurb says they are a heavy-duty design for trucks and vans, but according to this thread they are just too soft and will cause me to bottom out. So, £60 for one Bilstein it is, or take a chance on a cheap KYB. Hmmm, stress.

Sunday, 1 September 2013

E21 316: Inner-Arch Fix + MOT Prep.

Hacking out the inner wheel-arches at the back to make the 16x9s fit left them in a right state, with a big gap up inside the wing. Being where it is, the gap is wide open to dirt and water flinging up off the wheel ready to rot the body from the inside out, so as a temporary measure I covered the area in ally-tape. It worked well, but was never going to last long. I figured the inner-arch would be considered a structural part of the body and would need a steel fillet welding in, but it doesn't appear to be the case so fibre-glass will do.

The area is a bit big for filling in though, so I shot up to Halfords and bought a square-metre of fibre-glass matting, £4.29. You need resin to apply it, which is a bit dearer. A kit is available for £9.99 that includes a small bottle of resin and a small mat, otherwise resin starts at a fiver and hardener is extra. The recommended resin is polyester-based, so it stretches, but I figure that marine epoxy-resin, which can be used for fibre-glass, will do the job as it may not be as flexible, but sure is waterproof and rock hard. I also happen to have a litre of the stuff left over from some carbon-fibre projects a few years ago.


I weighed the fibre-glass mat up to the whee-arch and cut it into rough shapes. The instructions say to coat the mat in resin and then stick it, but I found it just as easy and a little less messy to brush a little resin onto the surface, then stick the pieces of mat on dry and brush in heaps of resin over the top. The epoxy is quite thick and stiffens quickly, so this may the only workaround method using this stuff. It's certainly done the trick, the fibre-glass is as solid as the metal and has stuck well even to the rough under-seal surface, lets just hope it doesn't flex too much and crack away. It should see me through the MOT next week and that's the main thing, but at least there's no mud being flung up into the wing anymore. A quick coat of red-primer and the tester may not even notice the difference...

Thursday, 15 August 2013

E21 316: Tyre stretch comparison.

This is for a mate who's bought some 17" BBS reps (Calibre Vintage) for his Mk4 Golf. As with my tyres, the Demon Tweeks guys recommended 45 profile for his wheel size. Im guessing this is for comfort, safety etc., but not with the amount of stretch in mind. The first pic shows my 16x9J wheel with a Yokohama 205/45 tyre. In my opinion this is just too big looks wise and takes over the look of the wheel. The second pic shows my second set of tyres, Toyo 195/40 profile. The difference it makes to looks is staggering, showing the rim off instead of hiding it. In my case the bigger tyre was jammed against my wheel-arch and made me cut more than I needed to when I got the lower profile 40s. 

Lower profiles are harder to find and the tyre sellers will probably say the 5% difference in tyre-wall won't make much difference in order to shift items they have in stock, but as you can see below the difference is actually huge. 

225/45

215/40
May as well be 225, profile same but 5mm less pitch-angle on either side.

Monday, 3 June 2013

E21 316: Stance looking rather complete...

Squat, slammed, stanced, hellaflush, scrapin' and eating the modern metal for brekkies!

Sunday, 12 May 2013

E21 316: New Low-Pro Tyres - Toyo T1R + Stretching Issues!

Thanks to finding a buyer for my ill-fitting Yokohamas so quickly I was able to buy another set of tyres this week without having too feel too guilty about how much I've spent on stance this last fortnight. Stance is what this car is all about though, so money should be the last thing causing me to compromise. You can't fight progress after all...


I got back to mulling over sizes and decided not to take any chances on buying tyres too big again and went a couple of sizes smaller on width as well as a lower profile. The 8-inch wide front wheels have now got 195/40 tyres, as opposed to 205/45. That 5% decrease in the tyre-wall is more pronounced than I figured, but they still just about went on with a couple of assistants pressing the sides in. Still no need for the butane / lighter trick or a 'bead-blaster', but boy are they stretched! I think we're pushing the boundaries of legality here [Offence Code 112].


No such luck with the 9-inch wide rear wheels. With the lower-profile sidewall, the slightly skinnier 215/40 I went for just don't quite reach the inner-rims enough to coax them on, as the 225/45 Yokos did. With the help of my work colleagues we tried the butane / lighter trick several times to no avail. Either the fuel/air mixture wasn't right or we were just plain doing it wrong, so after starting to smell melted rubber I gave in and decided to read up a bit more. One guy at work knows someone not too far away who has one of the all fabled 'bead-blaster' machines [explained here on TyreBayDirect.com], but as is so often the case he hasn't seen him for a while and it'll take a bit of notice to get hold of it. I don't like to hang around so, determined to get something done this weekend, began scanning the forums again to see if there was another trick I'd missed.

To my amazement there was - the 'bicycle inner-tube' gambit. This involves stretching a bicycle inner-tube round the wheel-rim and inflating it to create an airtight seal in the gap between the rim and tyre, deflating it as the tyre expands and finally sliding it out as the bead is reached. It sounds almost simple and to be honest it is. Unlike the butane / lighter method, which is very hit-and-miss when you don't know what you're doing, the inner-tube trick has a much steadier learning curve. You can see what's going on, gauge the pressure, find leaks easily and if the tube is going to pop out and break the seal it does so gently and with fair warning. With a bit of common sense anyone can handle a tyre popping off the rim at 40-odd psi, so this is by far the safest way to stretch tyres at home - I even managed it with a foot-pump, though I wouldn't like to do that again. It only took two proper attempts to get my first tyre on this way and, of course, there's zero chance of damaging a rim or melting rubber. Here's a great vid on Youtube of how easy it is - https://www.youtube.com/watch?v=lzxHYEdA8Qo, and it really wouldn't take many tries to get it down that good. I got 3 inner-tubes from Halfords for £10, so even if you need a dozen practise goes it still costs less than paying someone.

It's best to keep the tube size close to wheel size, but a bit smaller to get a tight fit. For my 16" wheels I bought 14" tubes, but a guy on the forum that convinced me was using 12" tubes on 15" wheels, so a few inches smaller is fine it seems. Getting an airtight seal was the most difficult part, but once you get a few PSI in and the tyre begins to press onto the tube you're away - make sure the valve on the tube is well proud of the seal as it inflates. Deflating and sliding the tube clear without breaking the seal can be troublesome, but it is just trial-and-error needed to get this right and it doesn't take much. Even though my first try was a fail and popped the seal it still managed to fully seat the opposite-bead, which is something two of us couldn't do using the old suspending the tyre on axle-stands and jumping on the wheel trick, so this is a good, safe method to do that. On my successful attempt, I still got a bit of tube caught in the bead, which is still stuck in there and caused the tyre to need quite a bit of pressure to pop onto the rim over it - about 65psi in fact, thankfully as with the foot-pump my legs just couldn't make any more! Still, the skinny 215 is on and I would recommend this technique to anyone stretching tyres at home.


Friday, 10 May 2013

E21 316: The wrong tyres! Sold.

Wallace and Gromit are back, this time they've got the right trousers on, it's the tyres that are right out. They're just too hi-profile and are wreaking havoc amongst the villages wheel-arches. Yep, those wicked Yokohama Advan have had to come off again and go on to eBay, as the wheel-arch chewed 2 of them pretty badly and they can't be returned, but the damage is only in the tread so I figured someone would want them cheap. Bearing in mind they've only covered about 0.2 of a mile and are worth ~£500 new, I figured £300 would still be a good deal and it looks like I was right - I had a buyer on the first day of the auction and got damn close to my asking price. The latest set of tyres have ony cost me £280 anyway, so I've had more expensive screw-ups it must be said.

The new tyres I've bought are good-old Toyo Proxes T1R, a bit boring and predictable, but again it's tough to get matching tyres in the right sizes. I am sad to see the lovely semi-slick design of the Yokos go though, but they just don't make a 40 profile and Toyo do, the new ones are 195/40/16 for the 8J front and 215/40/16 for the 9J rear - it's going to be quite a stretch! Watch this space.


These really were some of the coolest road tyres I have ever seen, what a shame they're like big balloons, hopefully the new owner will get the benefit of all that grip with the Scooby Impreza he's putting them on.

E21 316: 8Js won't fit the front...

After all the hacking and cutting on the rear arch to only discover I needed smaller tyres, today I threw an 8J onto the front with 20mm spacers, as without they just hit the track-rod end and wont even sit flush, and I find that space is even more limited at this end.


With the lip pulled out this time by hand, then neatened up a little with the baseball-bat / metal-bar rolling trick, the big 45-profile tyres still contact the back of the arch.


When steered hard-right, the tyre rubs past the edge of the bumper and fender, so it had to be jacked to turn the wheel straight again. The tyre also bent the edge of the front-valance, cracking the fibreglass repair I did last summer. A good inch would need to be cut off the valance here and I'm not sure lower profile tyres alone will remedy this, so some will need chopping off anyway, best keep it to a minimum. Oh, and I must save up for those camber-plates!

E21 316: Making the 9Js fit the rear...

Summary of the bank-holiday weekends activities:

Pulled the N/S/R wheel-arch back out and cut it off.
Peeled back the inner-skin of the arch and cut about 4 inches off it.
Cut a notch out of either side of where the arch meets the bumper shut-line.

The outer rim of the arch is now way off the tyre, but I could see a black rubber mark further up inside the inner wheel-arch.


The car was now rolling with a driver in, but one test drive revealed that any bump causes rubbing and the rim of the tyre caught the sharp edge of the cut inner arch, which chewed it pretty bad.


I've made a lot of space up there, so before I start hacking away any more arch, I'm going to buy smaller, lower profile tyres, I think that is now clear.

Sunday, 5 May 2013

E21: Getting low on sixteens...

They say fitting 16x9J to the rear could not be done... but people have done it. They say it cannot be done without cutting the arches... and it seems like they were right, so before I make a total mess of the car by grinding away those beautiful rear arch lines [already started yesterday :s - pics coming soon], I thought I'd throw up some more inspirational pics to remind me that I'm chasing dreams here, not just fitting fat wheels...


Monday, 29 April 2013

E21 316: Slight arch foul!


As you can see, the arch was sat on the tyre something awful with the 9" wide wheels at the back and the 225/45/16 rubber on...


A bit more arch persuasion...


Credit card clearance!


Or is it? The arch is still sitting on the tyre a little. The car just about rolls, but there's nowhere for the tyre to go either on a bump or with the weight of the driver...


It looks very flush and tidy, but something drastic will have to be done.