Showing posts with label low. Show all posts

Tuesday, 7 July 2015

E60: New Engine Tune Up Part 5 - Injectors / Smooth Running Control

The car is running OK, but the lumpy idling is still annoying me. Others don't notice it and I should probably just throw the acoustic-covers back on and just enjoy the car, but the urge to investigate the smooth-running control issue [this post] was just too great and a big job has broken out yet again.

I repeated the smooth-running measurement and injector 5 was still giving zero reading, so I bought a re-conditioned one off eBay for £45. I had also noticed oil running down the centre of the rocker-cover that seemed to be leaking out from the rear injector ports, so my logic was if they were coming out for cleaning and re-seating I may as well replace no. 5 and not worry about having to do the work again if it was indeed faulty. Saturday's jobs are listed below:
  • Replaced injector 5.
  • Removed / cleaned injectors.
  • Refitted rocker-cover and injectors carefully!
  • Repaired sheathing of inj. 5 ground wire.
  • Cleaned MAP sensor.
  • Put swirl-flap actuator back on vac-line.
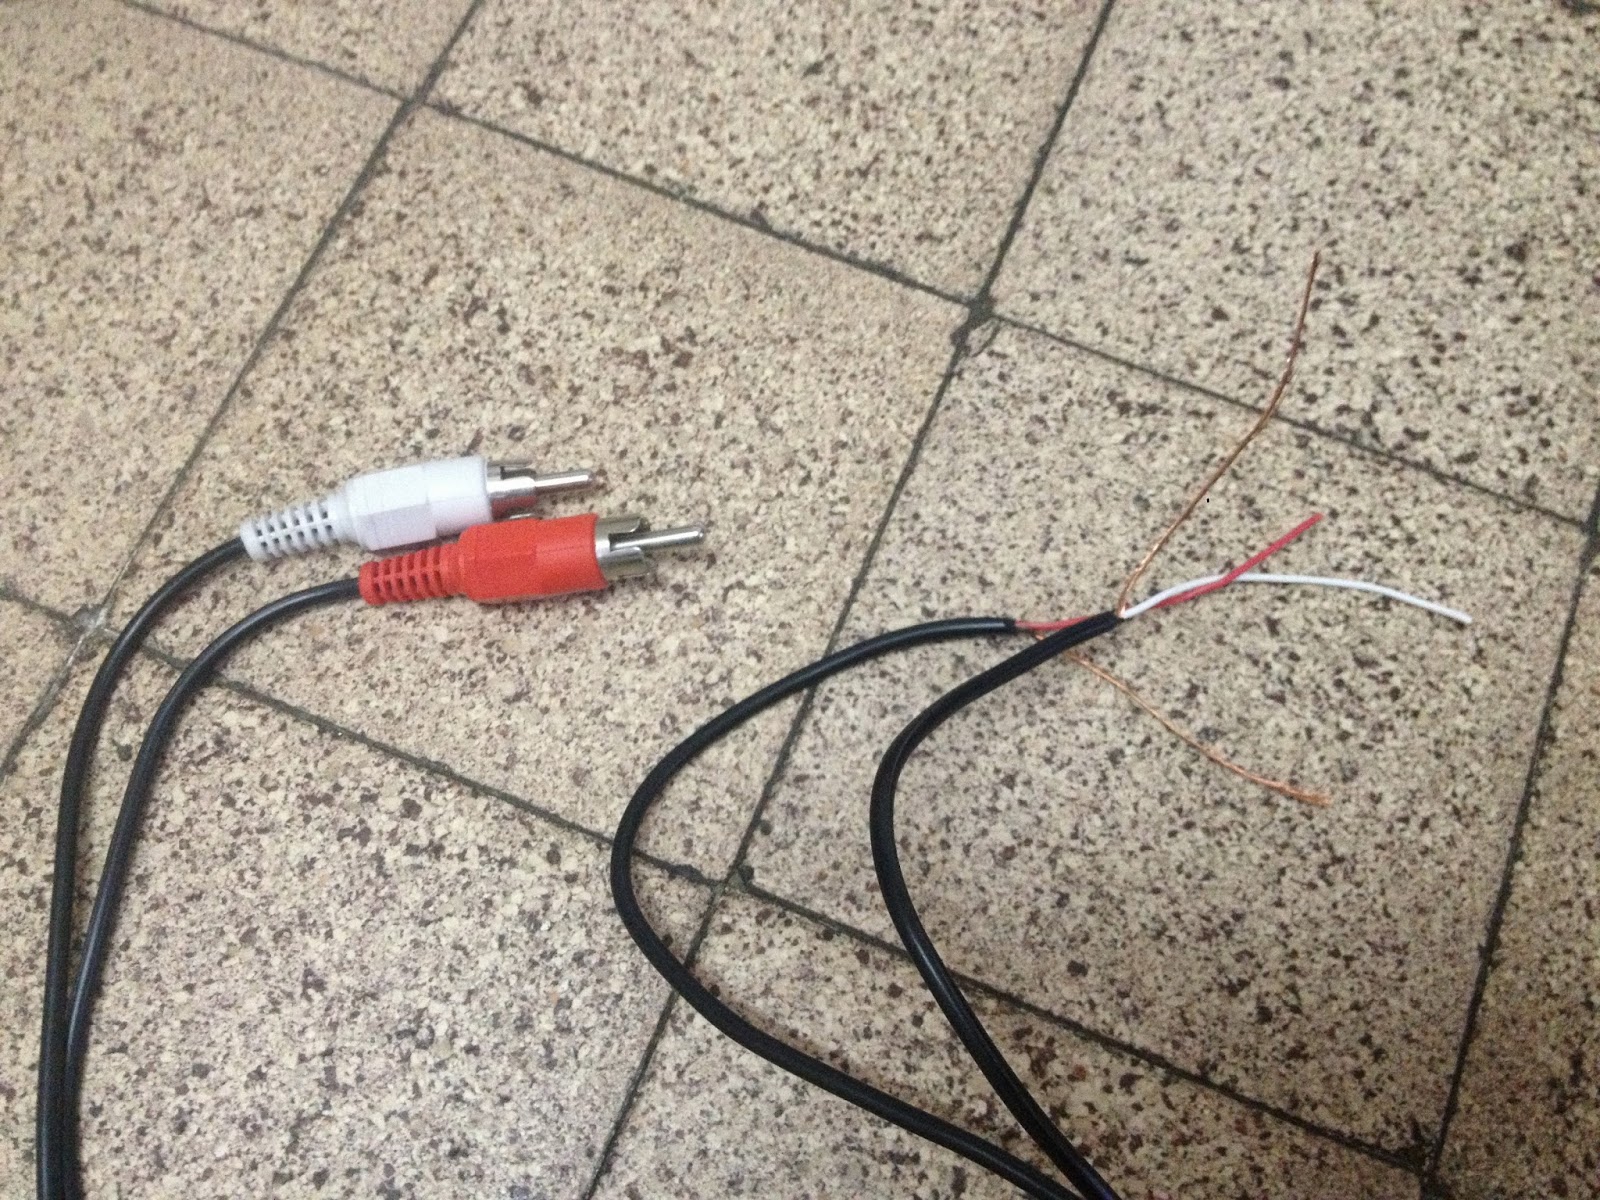
  • Made sure inj. leak-off hose is secure! [It popped off while working on it, lost £5 fuel at least.]

BEGINNING DIESEL INJECTOR CODING:

In the days leading up to the work above I was contacted by another user who had the same issue with the smooth-running readout. They had fitted a brand new injector to the cylinder showing zero and it had made no difference to the readout. I hoped mine would not turn out the same way and the new injector would cure the problem, but it did not. A crushing final smooth-running measurement still showed 0.0 for injector 5 and the idling remains the same. My contact feared a fried ECU / DDE and had theirs tested, but it came back with no faults. This is unlikely anyway if the car is running OK and it turned out to be a software problem with the scanner. Later using INPA on my laptop I was able to view correctional-amounts for all 6 cylinders, so no. 5 was likely never a serious problem. Better yet, the amounts shown for mg/stroke were more realistic and not 100mg out like before. Never the less, the poor idle remained.


I was now informed that if an injector had been replaced then it would need coding. Basically, every injector has a slightly different correctional-value and is given a unique code. These are stored by the ECU after assembly, which then operates each injector perfectly within the parameters set by each code. When a new injector is fitted the ECU needs to be recoded accordingly. The codes are found in the lower-left quarter of the markings on top of the injector, shown in the photos. M57NTU BMWs used Euro 3 v2 injectors in 2003 and from mid-2004 used Euro 4 injectors. These are interchangeable, even late E39 units work, but injectors made after 2007 for the later M57NTU2 do not. A great guide on BMW diesel injector codes is here - http://www.bmw-planet.com/diagrams/release/en/zinfo/FIN0201FB47TU033.htm.

As each cylinder is coded to a specific injector the order the injectors are fitted in is critical and must remain the same. This got me wondering if that could be the cause of the lumpy tickover after all. During the whole course of the swirl-flap repair and then engine swap these same injectors have been removed from the head half a dozen times. It is possible that during nozzle-cleaning or engine-swap teething troubles that one or two may have become jumbled. The only way to know is to read the code sequence on the ECU and match them to the codes on the injectors, so I fired up the scanner and went into Injector Programming. What I found was the picture below. Only 1-4 showed up with codes and only the first one matches any of my injectors. No. 5 and 6 are blank, but only 1 and 2 can be selected to alter the code anyway, so it would seem that the scanner I am using is unsuitable for complex BMW work - it is, after all, optimised for Transit vans. I have now procured some dedicated diagnostic software and a BMCables.com blue OBD-USB cable, which will hopefully give an improved result like it did with the smooth-running readout. If the codes still don't match my injectors then they're not the originals and were never coded in anyway, putting the idle problem into a different court entirely. Only time will tell, as INPA does not work for injector-coding on diesel Beemers - for that you need DIS and it has been so hard to set up that I will have to cover it in later posts.

My current injector codes are:

1 - 7G1R6A [Euro 3 v2]
2 - ASR1CE [Euro 3 v2]
3 - 6RH1DW [Euro 3 v2]
4 - BZZNBI [Euro 3 v2]
5 - 7GZ6417 [Euro 4]
6 - B1APEI [Euro 3 v2]

Tuesday, 16 September 2014

E46: New secondary air-pump - one last bash...

Thought I would have one ultimate stab at the E46 as it is such a nice car to drive and only let down by shabby bodywork, which I can do something about, and the super low idling problem, which apparently I can't.

I refitted the Vanos-actuator and checked for anything I'd disturbed under the inlet manifold, finding a loose wire connector which I clicked back in, though the CCV was all plumbed up fine. A replacement secondary air-pump and its hose / filter was £30 and the only thing now missing from the inlet arrangement. It took no time to fit, just two 13mm bolts holding it on and swapping the hoses over, but has still, alas, made no difference.


I've spent nearly £300 on parts to cure this engine of its fault, but nothing has done the trick so I guess I will have to call it a day and scrap her after all. Again a shame, as it has 9 months MOT and 4 months tax left on it. The running gear is sound, I sorted the brakes and the engine runs fine when underway, pulling well in all gears over 1500rpm. Handling is as sweet as any E46. The interior and exterior are in terrible nick, but thats nothing that couldn't be sorted with a day or two spent on it. That's only worth doing if the car is useable however, and it sadly isn't.

On top of the impossible low-idling, the handbrake-shoes have collapsed in some way and stick on completely in reverse with the handbrake off. This is probably from being used so much to stop the car while my right foot was still keeping the revs up, but is extra work regardless. A large M12 bolt holding one of the front shock-absorber struts broke while I was attempting to fit the coilovers months ago. I've been driving on it and the strut hasn't moved at all, but it too will need replacing at some point and removing the stud will be interesting. Inside the car, the fan for the heater/blower doesn't work and the driver's door card is missing, meaning no speaker or door handle. Exiting the car with dignity can only be done by lowering the window and reaching out for the other handle, but all these foibles I rather liked. Using it every day was a nightmare though and, with the 5-Series engine swap underway I just won't have the time and money to restore it, so I'm hoping I can get the £200 I paid for it back from a breaker. That means I'm down about £300 on the whole deal. I could make the £500 back and probably more by breaking the car, but I could really do with it out of the way quickly now so a loss it may have to be.

Saturday, 15 March 2014

E60 Audio: Getting a Bass RCA (Audio) feed from the Stock-Subs.

If you want an aftermarket amp + subs in the boot then you need an RCA-feed and tapping into the rear speaker-wires does not work on the E60 and other iDrive BMWs as it does on the E39, E46 etc. All US E60s and others with factory-upgraded sound-systems have two subs under the front seats run by a stock-amp in the boot, on the left-hand suspension turret behind the panel. If you have this see this guide on //// to tap into the wires on the stock-amp.

Most non-US cars don't have a built-in amplifier in the boot, but they still have subwoofers under the front seats. These are driven by the head-unit and the EQ sends a different set of frequencies to each set of speakers. [See: http://musicarnw.com/bmw-factory-audio-explained/]. The rear speakers are only 4" so they don't get much low-end at all. To get proper bass it's worth going the extra mile and running cables all the way to the stock-subs, which get the real low-range frequencies.

** NB: This is to fit subwoofers on a bass-only channel. If you are fitting component speakers or 6x9s then you will need a broader range of frequencies and are better to tap the rear speaker-wires, covered in THIS POST, which is a lot easier. **

PROCESS:

Getting to the sub-wires is quite involved, but not difficult if you have the right tools. There is a + and - wire to each sub, so two new speaker-wires will need running either side. I used one length of twin-core 1.5mm wire on each sub, about 6 feet of wire is plenty.

1. Slide the seat all the way back and remove the plastic caps from the front of the runners.

2. Remove the two bolts from the front of the runners using a T50 Torx-head wrench.

3. Slide the seat all the way forward and remove the two bolts holding the rear of the runners using a T50 Torx-head wrench.

4. Lift the seat up. tilt it back out of the way and prop it up.

5. Remove the four crosshead screws from the plastic-grille above the sub and lift it off.

6. Move the carpet on the door-sill out of the way and cut the fabric-tape binding the wires going to the sub together so they can be pulled apart.

7. Splice your new speaker-wires into the wires going to the sub as pictured below. O/S - Red/Blue for [+] and White/Brown for [-]. N/S - Red/White [+] and Brown/Yellow [-]. [Soldering would be the best way, but I just went for the quick and easy Scotch-lock way again].


8. Run the new speaker-wires out from under the carpet and
along underneath the door-sill trim, up the side of the back seat and along the top of the back seat to the middle.

9. Lower the centre arm-rest and remove the plastic-trim panel from behind it by pulling out the two push-clips from the lower edge and working it off.

10. Thread the new speaker-wires down behind the back-seat at the centre. Be sure to thread the wires just behind the seat-back, but not down against the parcel-shelf, which ends at an annoying ledge. If you see the wire passing down behind the small round hole near the top of the seat-back behind the arm-rest then your on the right route.

11. Inside the boot the new speaker-wires should be seen poking down into the boot, or if it isn't you should be able to reach under the lip at the back of the boot and pull it down.

12. Install the four wires to your amplifier either directly by adding red/white RCA-type connectors to them, or via a crossover-box, which is the better method. Fitting a crossover is covered in THIS POST.

Friday, 14 March 2014

E60 Audio: RCA Feed from Rear Speakers - quick n dirty guide.

**Caution: This guide is for fitting extra component/coaxial speakers and is NOT suitable for fitting subs as the rear-speakers receive no low-end frequencies. If you are fitting subs then see THIS GUIDE on getting bass-RCA from the stock-subs.

This guide covers a very quick and easy way to get an RCA-feed into the boot on your BMW E60 and other iDrive models. This method is only suitable if you are fitting extra component or coaxial speakers [inc. 6x9s etc.] where the range of frequencies handled by the rear speaker-EQ are required.

PROCESS:

** If you are fitting extra component/coaxial speakers then adding a crossover-box to the RCA-feed before the amp should not be necessary. If you intend to use a crossover, substitute the 4 wires of the Red/White RCA-cable in this guide for 4 lengths of normal wire and see THIS GUIDE on how to install it.

1. Take a normal Red/White stereo RCA-cable, cut both plugs off from one end and separate the two wires down most of its length. An RCA-cable of about 4 feet should be plenty to reach up to both rear-speakers.

2. Carefully unwind the earth-wire from around each coated-wire and twist them off, so each of the coaxial RCA-wires is now split into two, as shown.


3. Bend each of the four wires over about 5mm from the end and completely sheathe the two bare earth-wires up to here, so they are well separated from the red/white live wires, as shown.


4. Gently prise off each rear-speaker grille using a flathead screwdriver, starting at the front edge.

5. Remove the 3 screws holding each rear-speaker using a T20 Torx-head wrench/driver, then lift out and unplug both speakers.

6. From inside the boot, light can be seen coming in through the empty speaker-recesses. Route one cut end of the RCA-cable up into each speaker-recess. They should easily be reached now from the parcel-shelf.

7. Splice the coated live-wire of the RCA-cable to the + speaker-wire on each side and the bare earth-wire to the - speaker-wires. The colours are as follows:

O/S - Yellow/Black +, Yellow/Brown -.
N/S - Black/Red +, Black/Purple -.


8. Push the wires down into the parcel-shelf and replace the speakers/grilles.

Done in 5 minutes!


Sunday, 9 March 2014

Another subs/amp issue - not enough low-end getting through.

The plot thickens with my aftermarket subs and amp install. Following the addition of a crossover between the rear-speakers and amp RCA-input I'm definitely getting cleaner bass, but the really low-end frequencies don't seem to be present at all. I doubt the crossover can't handle the frequencies and I know the amp can, so this leads to me think the frequencies are being cut out before getting to the rear-speakers.

One US forum says low-end frequencies are cut from all but the stock amp in the boot and subs under the front-seats. Today I got 2 screws out of the plastic-grille under the passenger seat and bent it back to see a flat type subwoofer under it with the magnet facing upwards. Still, there is no stock amp present at either side of my boot. To get a definitive answer I started a thread on BMW-Land - http://www.bmwland.co.uk/forums/viewtopic.php?f=5&t=159000.

Turns out all E60s do have the stock subs under the front-seats, but if you don't have the amp they are controlled from the head-unit as well. Patching into the wiring to these could be the solution to getting the proper bass I'm after, but it will involve undoing the rear speaker splice and running the wires through to under the front-seat, so will have to wait for the time being.

http://musicarnw.com/bmw-factory-audio-explained/ - yep, seems to be the case, rear-speakers are EQ'd to high and mid frequencies only.

http://forums.5series.net/diy-do-yourself-14/add-subwoofer-e60-models-without-amp-trunk-121323/ - here is a good guide on how to tap into the sub-woofer wires, but it involved removing the front seats.

Monday, 3 June 2013

E21 316: Stance looking rather complete...

Squat, slammed, stanced, hellaflush, scrapin' and eating the modern metal for brekkies!

Sunday, 12 May 2013

E21 316: New Low-Pro Tyres - Toyo T1R + Stretching Issues!

Thanks to finding a buyer for my ill-fitting Yokohamas so quickly I was able to buy another set of tyres this week without having too feel too guilty about how much I've spent on stance this last fortnight. Stance is what this car is all about though, so money should be the last thing causing me to compromise. You can't fight progress after all...


I got back to mulling over sizes and decided not to take any chances on buying tyres too big again and went a couple of sizes smaller on width as well as a lower profile. The 8-inch wide front wheels have now got 195/40 tyres, as opposed to 205/45. That 5% decrease in the tyre-wall is more pronounced than I figured, but they still just about went on with a couple of assistants pressing the sides in. Still no need for the butane / lighter trick or a 'bead-blaster', but boy are they stretched! I think we're pushing the boundaries of legality here [Offence Code 112].


No such luck with the 9-inch wide rear wheels. With the lower-profile sidewall, the slightly skinnier 215/40 I went for just don't quite reach the inner-rims enough to coax them on, as the 225/45 Yokos did. With the help of my work colleagues we tried the butane / lighter trick several times to no avail. Either the fuel/air mixture wasn't right or we were just plain doing it wrong, so after starting to smell melted rubber I gave in and decided to read up a bit more. One guy at work knows someone not too far away who has one of the all fabled 'bead-blaster' machines [explained here on TyreBayDirect.com], but as is so often the case he hasn't seen him for a while and it'll take a bit of notice to get hold of it. I don't like to hang around so, determined to get something done this weekend, began scanning the forums again to see if there was another trick I'd missed.

To my amazement there was - the 'bicycle inner-tube' gambit. This involves stretching a bicycle inner-tube round the wheel-rim and inflating it to create an airtight seal in the gap between the rim and tyre, deflating it as the tyre expands and finally sliding it out as the bead is reached. It sounds almost simple and to be honest it is. Unlike the butane / lighter method, which is very hit-and-miss when you don't know what you're doing, the inner-tube trick has a much steadier learning curve. You can see what's going on, gauge the pressure, find leaks easily and if the tube is going to pop out and break the seal it does so gently and with fair warning. With a bit of common sense anyone can handle a tyre popping off the rim at 40-odd psi, so this is by far the safest way to stretch tyres at home - I even managed it with a foot-pump, though I wouldn't like to do that again. It only took two proper attempts to get my first tyre on this way and, of course, there's zero chance of damaging a rim or melting rubber. Here's a great vid on Youtube of how easy it is - https://www.youtube.com/watch?v=lzxHYEdA8Qo, and it really wouldn't take many tries to get it down that good. I got 3 inner-tubes from Halfords for £10, so even if you need a dozen practise goes it still costs less than paying someone.

It's best to keep the tube size close to wheel size, but a bit smaller to get a tight fit. For my 16" wheels I bought 14" tubes, but a guy on the forum that convinced me was using 12" tubes on 15" wheels, so a few inches smaller is fine it seems. Getting an airtight seal was the most difficult part, but once you get a few PSI in and the tyre begins to press onto the tube you're away - make sure the valve on the tube is well proud of the seal as it inflates. Deflating and sliding the tube clear without breaking the seal can be troublesome, but it is just trial-and-error needed to get this right and it doesn't take much. Even though my first try was a fail and popped the seal it still managed to fully seat the opposite-bead, which is something two of us couldn't do using the old suspending the tyre on axle-stands and jumping on the wheel trick, so this is a good, safe method to do that. On my successful attempt, I still got a bit of tube caught in the bead, which is still stuck in there and caused the tyre to need quite a bit of pressure to pop onto the rim over it - about 65psi in fact, thankfully as with the foot-pump my legs just couldn't make any more! Still, the skinny 215 is on and I would recommend this technique to anyone stretching tyres at home.


Sunday, 5 May 2013

E21: Getting low on sixteens...

They say fitting 16x9J to the rear could not be done... but people have done it. They say it cannot be done without cutting the arches... and it seems like they were right, so before I make a total mess of the car by grinding away those beautiful rear arch lines [already started yesterday :s - pics coming soon], I thought I'd throw up some more inspirational pics to remind me that I'm chasing dreams here, not just fitting fat wheels...


Monday, 29 April 2013

E21 316: Slight arch foul!


As you can see, the arch was sat on the tyre something awful with the 9" wide wheels at the back and the 225/45/16 rubber on...


A bit more arch persuasion...


Credit card clearance!


Or is it? The arch is still sitting on the tyre a little. The car just about rolls, but there's nowhere for the tyre to go either on a bump or with the weight of the driver...


It looks very flush and tidy, but something drastic will have to be done.

Sunday, 3 March 2013

E21 316: Spring Chop Chronicles 3 - Double Drop!

I was so keen to test out the o/s/r wheel-arch I rolled in last week that I left the locking wheel-nut key on the wheel and sped off. This is the one bit of kit you don't want to lose, as I couldn't get the wheels off to paint, chop, or even roll the n/s/r arch off the tyre [which has been smoking and squeaking all week] until my replacement key came on Friday. Needless to say it's been a busy weekend...


I started by taking 2 coils out of the uncut n/s front spring to compare it to the o/s with a single coil removed and it wasn't a lot lower and not sitting on the tyre thankfully, so I chopped the o/s down to match it. With 2 coils taken from each of the front springs that's slightly over 2kg off the chassis, which should in part make up for my heavy steel spacers.


Above shows the original height of the SPAX spring, a drop of 40mm from stock.


Now with a single coil removed, above, the car sits at about -55mm from stock, give or take. That's low! But not low enough...


2 coils removed and she's as low as she'll go on the normal-length strut inserts, but there's still just about enough clearance to get one finger into the arch. Don't seem to be getting any scrubbage off the tyres, which is good considering 


Now we're really scraping...


...but so is the sump! 2 inches ground clearance for this engine then - speed-bumped roads are out of the question! Let's hope someone doesn't leave a brick lying in the street!